PAGES
Chip Carving Knives Box
Storage Box for Chip Carving Knives
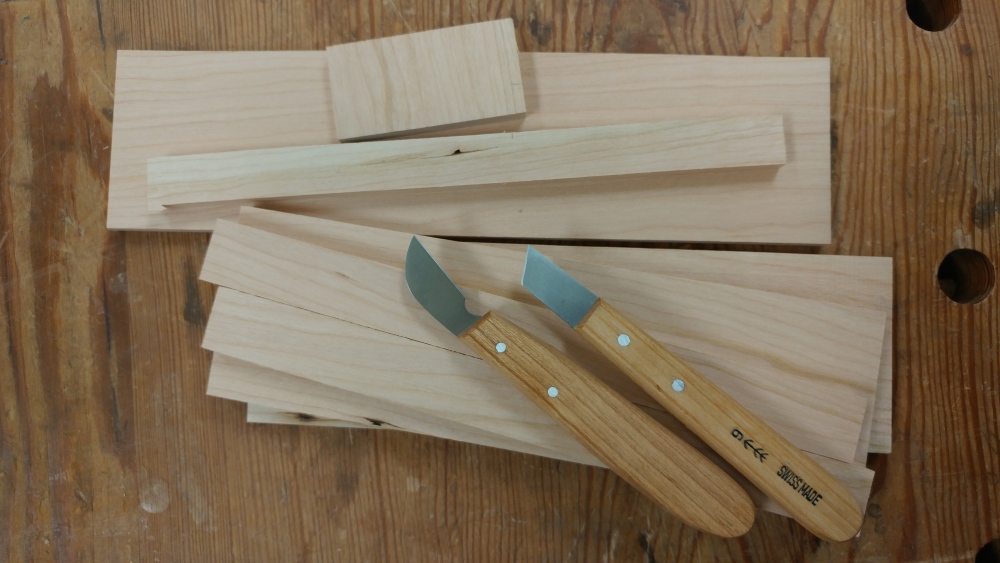
I recently picked up a pair of chip carving knives to play with. They came in two vinyl slip pouches that just seemed like the sharp points were going to punch through when I wasn’t looking. Or when I grabbed them firmly.
So, storage box then.
Box Ideas
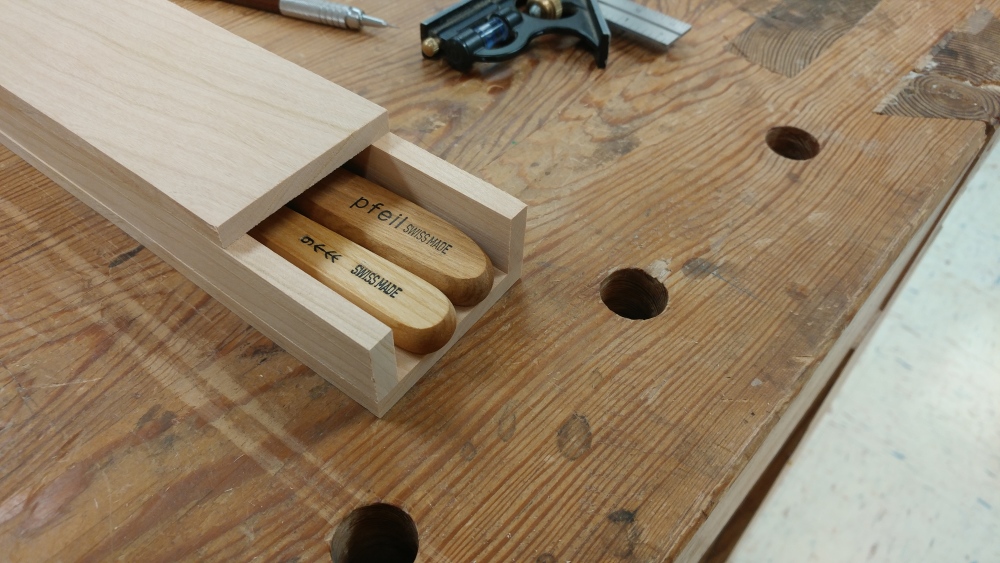
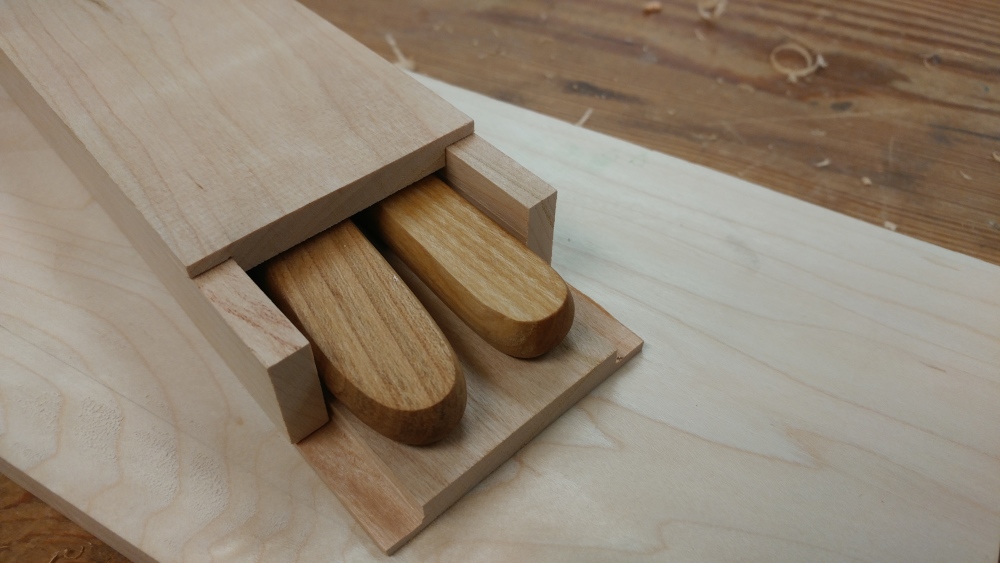
I settled on a sliding pencil box like idea. It will require two boxes, basically.
Build the Interior Box
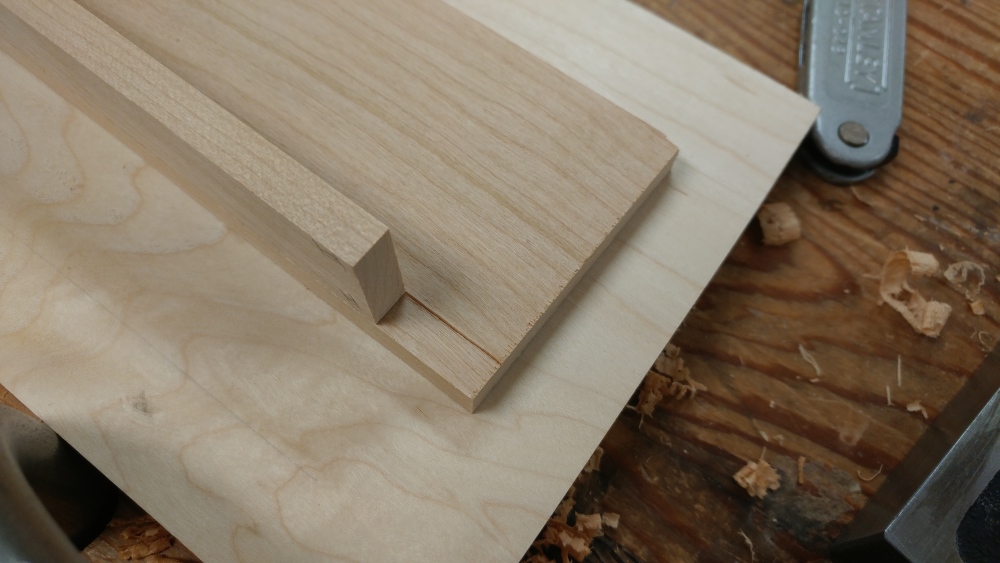
Since this box is being purpose built to house items in particular, no discrete measurements are needed. The length is sized to be long enough, height to be tall enough, etc. by grabbing the dimension needed with calipers and then showing that dimension to the wood for prep. While it makes things a bit slower in the process department, I don’t have to worry about being off an inch where I misremembered a number.
The box will be, basically, a box within a box. It’ll be useful to make the initial boxes twice as large as they need to be so we have a backup box, if needed.
The width of the front and back are about two knives plus two side pieces. The side pieces are roughly the thickness of the knives plus one front or back piece. Measuring? Who needs to put a dimension on something when we can just lay it out.
Joinery
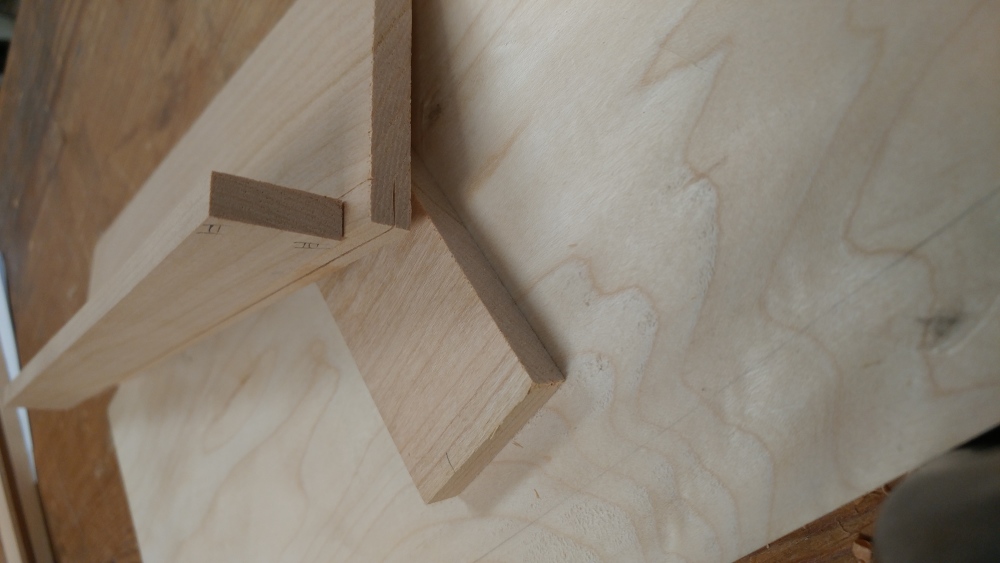
I eventually went with a rabbeted joint on this box. I was really tempted to just go with butt joints and dowels but there’s something to be said about a rabbet. Since there was a distinct lack of standardization on this project, I had to cut the rabbets by hand. In order to get the width correct, you determine the order of assembly (look for the Roman numerals later) and then knife in the line that you want to cut to.
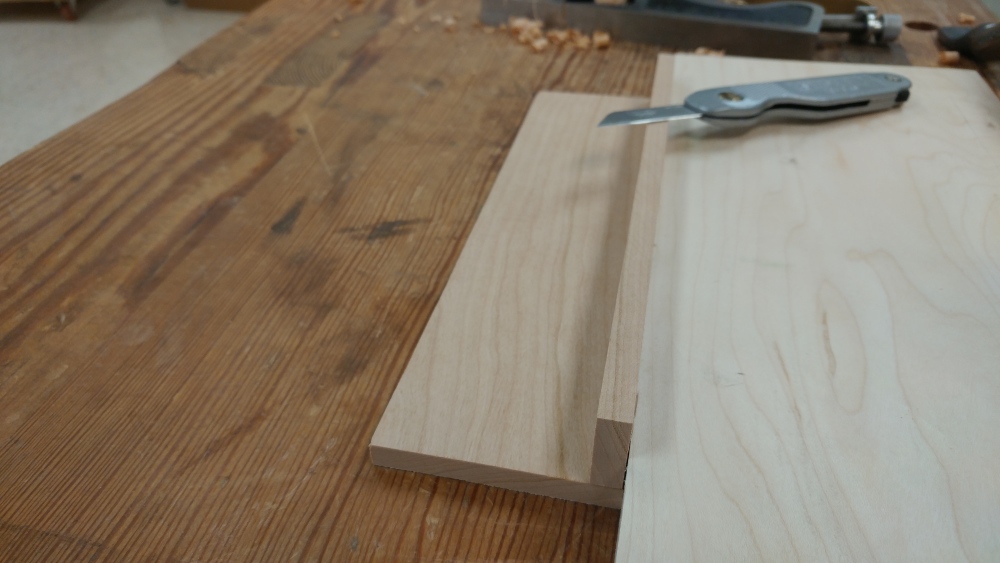
Make the knife line deep and clear. This will form the shoulder of the rabbet and will reflect in the accuracy of the joint when assembling it later. The width of the rabbet is only one part of the rabbet, the other is the depth of the rabbet. The depth can either be set via a rabbet plane with a depth stop or by marking the depth with a knife and planing down to the line.
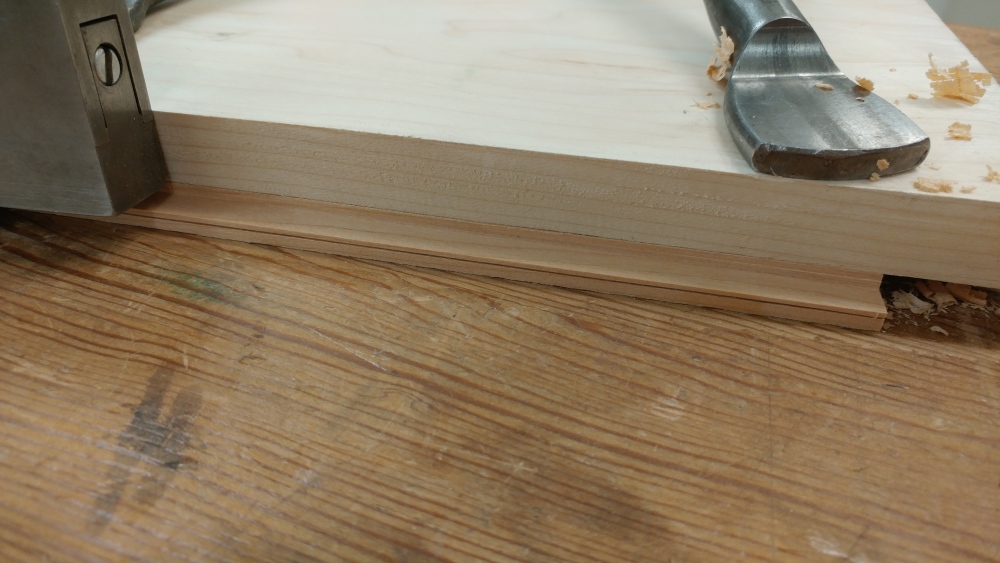
I planed to the knife line with a shoulder plane and a fence made with a scrap of wood. The rabbet is created quickly. Even pressure during planing helps the process smoothly.
Glue up
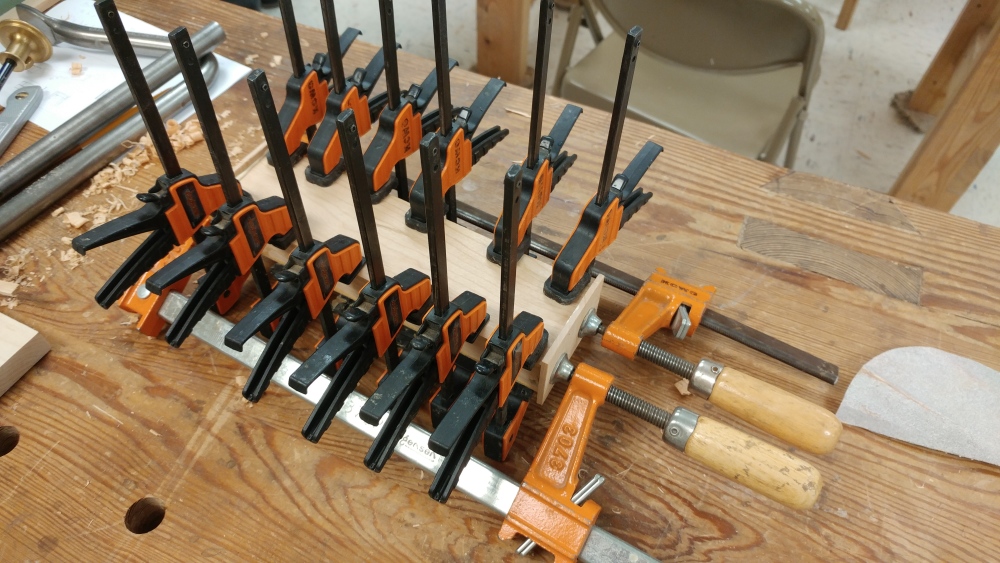
Like all boxes, the trick is to get good clean joint lines with minimal squeezeout.
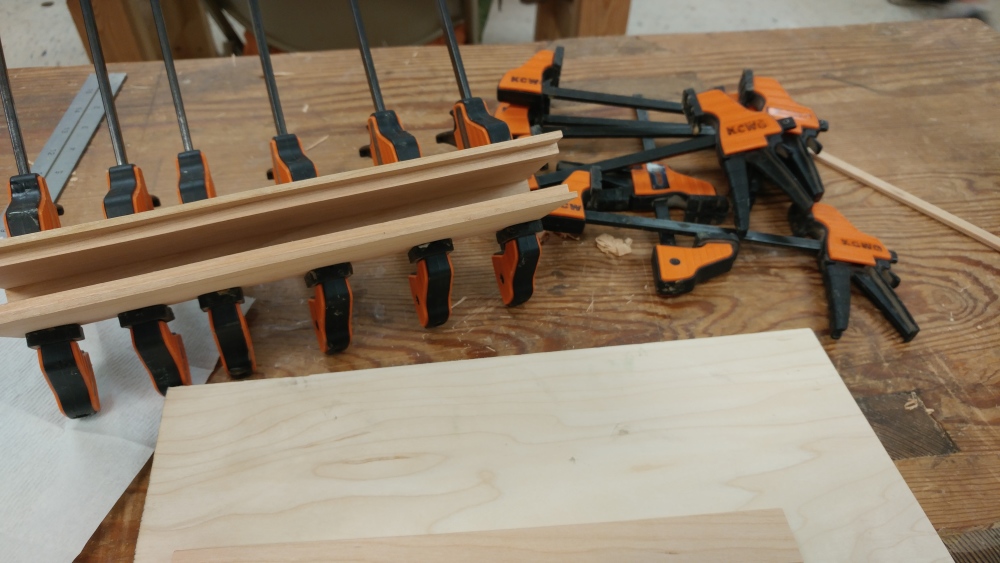
So… Moar Clampz Needed.

End Caps
At this point, I could get the measurements of the rabbet needed for the end caps. Then I realized a simple, thin, end would work just as well. I split off some lumber into sub-1⁄8″ thick pieces with a handsaw. I also cut some cork to fit nicely in the end to cushion the knife tips.
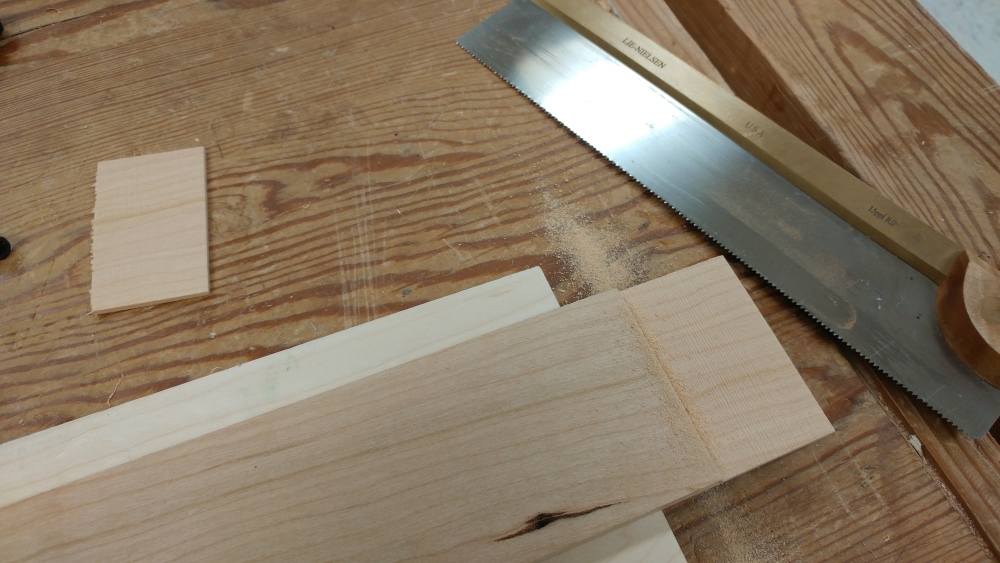
A little bit of glue and I sealed the box completely.